

How to Make a Hello Kitty Cake with Chipits Chocolate Chip Cookies
Introduction
Creating a Hello Kitty-themed cake is not just about baking; it’s about crafting a delightful experience that brings smiles to kids and adults. Combine this adorable theme with the classic taste of Chipits chocolate chip cookies, and you’ve got a dessert that’s sure to impress. Whether you’re preparing for a birthday party, a special occasion, or simply indulging your sweet tooth, this recipe is a perfect choice.
In this guide, we’ll walk you through every step to make a Hello Kitty cake that incorporates the rich, buttery flavors of Chipit chocolate chip cookies. Let’s get started!
Table of Contents
Ingredients for the Hello Kitty Cake
Cake Base (Vanilla or Chocolate Sponge)
| Ingredient | Quantity |
|---|---|
| All-purpose flour | 2 1/2 cups |
| Baking powder | 2 tsp |
| Salt | 1/2 tsp |
| Unsalted butter | 1 cup |
| Granulated sugar | 1 3/4 cups |
| Eggs | 4 large |
| Vanilla extract | 2 tsp |
| Whole milk | 1 cup |
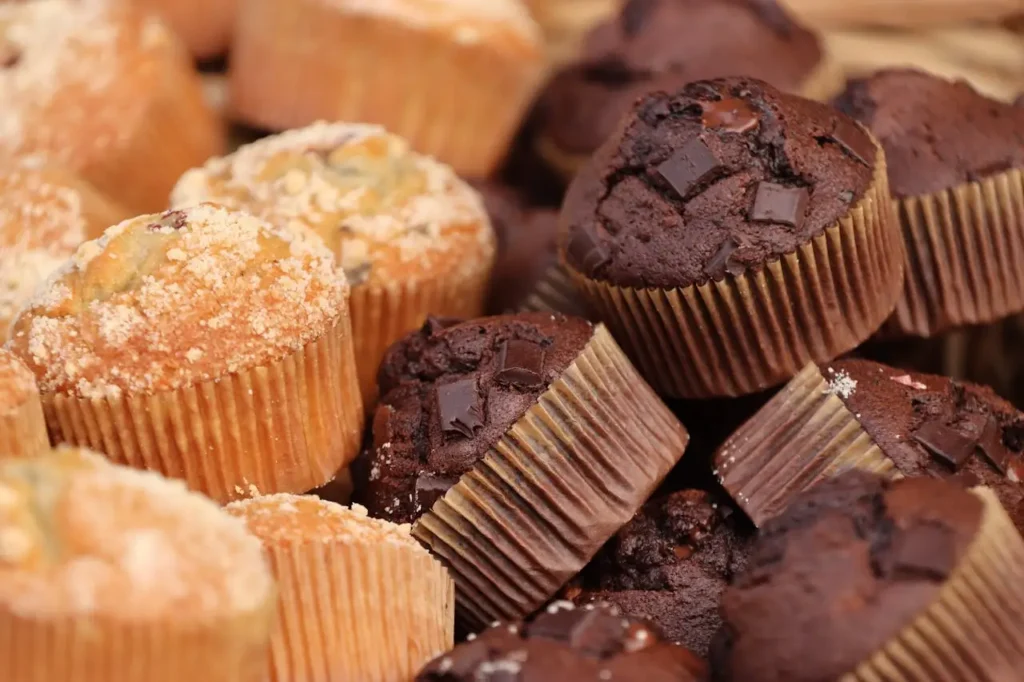
Chipits chocolate chip cookies Layer
| Ingredient | Quantity |
| Chipits chocolate chips | 1 cup |
| All-purpose flour | 1 1/4 cups |
| Baking soda | 1/2 tsp |
| Salt | 1/4 tsp |
| Unsalted butter | 1/2 cup |
| Brown sugar | 1/2 cup |
| Granulated sugar | 1/4 cup |
| Egg | 1 large |
| Vanilla extract | 1 tsp |
Frosting and Decoration
| Ingredient | Quantity |
| Unsalted butter | 1 cup |
| Powdered sugar | 4 cups |
| Milk or cream | 2-3 tbsp |
| Vanilla extract | 1 tsp |
| Pink food coloring | As needed |
| Black licorice (for whiskers) | As needed |
| Marshmallows or fondant | For decoration |

Step-by-Step Instructions
1. Prepare the Cake Base
- Preheat the oven to 350°F (175°C) and grease two 8-inch round cake pans.
- Mix dry ingredients: Combine flour, baking powder, and salt in a bowl.
- Cream butter and sugar: Beat butter and sugar together until light and fluffy.
- Add eggs and vanilla: Mix in eggs one at a time, followed by vanilla extract.
- Alternate wet and dry ingredients: Gradually add dry ingredients and milk, alternating between the two.
- Bake: Divide batter evenly between pans and bake for 25-30 minutes. Cool completely.
2. Make the Chipits Chocolate Chip Cookie Layer
- Prepare cookie dough: Combine dry ingredients (flour, baking soda, salt). Cream butter, sugars, egg, and vanilla. Mix in Chipits chocolate chips.
- Bake: Spread cookie dough on a baking sheet and bake at 350°F (175°C) for 10-12 minutes. Cool and cut into pieces to layer within the cake.
3. Assemble the Hello Kitty Cake
- Shape the cake: Use a Hello Kitty cake mold or carve the cake base into the iconic shape.
- Layer: Place one cake layer on a platter, add a layer of Chipits chocolate chip cookie pieces, and top with the second cake layer.
- Frost: Cover the entire cake with buttercream frosting.
4. Decorate
- Color the frosting: Use pink food coloring for Hello Kitty’s bow.
- Add details: Use black licorice for whiskers and marshmallows or fondant for eyes, nose, and bow.
Tips for Success
- Chill the cake layers before assembling to prevent crumbs.
- Use a piping bag for precise decoration.
- Make extra Chipits cookies as a fun side treat!
Frequently Asked Questions (FAQs)
Can I use store-bought cookie dough for the Chipits layer?
Yes, you can save time by using store-bought cookie dough, but homemade offers a fresher taste.
How do I ensure my cake layers stay moist?
Avoid overbaking and wrap layers in plastic wrap while cooling to retain moisture.
Can I make this cake gluten-free?
Absolutely! Substitute all-purpose flour with a gluten-free flour blend in both the cake and cookie recipes.
Conclusion
A Hello Kitty cake with Chipits chocolate chip cookies is the perfect blend of cuteness and classic flavor. By following this recipe, you’ll create a dessert that’s not only Instagram-worthy but also irresistibly delicious. Whether for a special celebration or a baking adventure, this cake is sure to delight everyone!
Creating your own Hello Kitty cake with Chipits chocolate chip cookies can be an exciting challenge, and the results will be as rewarding as the process. Be sure to share your creation with friends and family and tag us on social media to showcase your masterpiece. Don’t forget to experiment and make it uniquely yours!
There are no reviews yet. Be the first one to write one.


